Say hello to my boxed Sega Genesis. This was my last retro pick-up before COVID-19 put Canada on lock-down.
It was actually full on Winter when Nintendo Joe and myself visited Retro Game Bros.; where I made this purchase. I was on the hunt for some affordable boxed NES and SNES games when I noticed this boxed ‘launch edition’ Sega Genesis. “Launch Edition” wasn’t a thing back in the day but what was important to me is that this is the packaging variant I got as a kid. (“Variant” also wasn’t a thing back in the 90’s.)
I already had a very similar boxed Genesis but the condition of this replacement is much better and I could not resist. When I asked for the price the Retro Game Bros. asked me to offer a fair price and after seeing a ‘sold listing’ for a similar boxed Genesis for $150 USD that is what I offered; which was about $200 CAD at the time. Knowing that I’d have my previous boxed Genesis to sell helped make this an easy purchase.
My new boxed Genesis (above) is compete with everything: console, hook-ups, game pad, Altered Beast, adapters, manual and a Golden Axe poster. All in really great condition!
If you look close you can see the original retail price of $189.99. Because it’s says Kay Bee Toys I’m pretty sure that price tag is in USD. I don’t think Kay Bee Toys ever made it to Canada. $189.99 is the launch day price of the Genesis in the US which makes me believe this is a pretty early release; not that it’s particularly important but just cool trivia.
My now dethroned boxed Genesis you can see below. It’s OK. The hardware is in very good shape. It’s only the box that’s a bit battered. This one cost me $40 CAD (~$30 USD) years ago.
This variant is actually pretty interesting. I believe this is one of the last Altered Beasts boxes to sell at retail. You can see a black sticker stating ‘Game Cartridge Not Included, Sold Separately.’ It’s placed right over the area of the box that says (if it was visible) “Included Arcade Hit Altered Beast”. I image when Sega was slowing down on the Altered Beast bundle they had more consoles to unload before moving onto new packaging and new bundles.
I had no idea how satisfying this upgrade would be. I was pretty content with the battered and beat-up box but now that I have a new champ I find it very gratifying!
For kicks have a look at why I don’t bother with eBay anymore; here’s what some serious gougers feel this same boxed Genesis is worth:
Between $800-$2,800 CAD (~$600-$2,000USD) Really?! This is why I haven’t had an eBay account since Dec. 2016. And I don’t miss it at all.
What did Nintendo Joe end up scoring at Retro Game Bros.? He purchased a used copy of Metroid: Samus Returns for his Nintendo 3DS. And like a good lad he’s already beaten it.
Slowly but surely I’m managing to find complete boxed hardware for my Sega collection. Much like the Sega CD I mostly ignored the Sega 32X for decades after it’s release.
Below is my newly acquired boxed Sega 32X and it’s in really great condition.
I was actually a bit surprised at how large the box is. When I met up with the seller I found that it barely fit in my backpack. Seeing it pictured here next to the Genesis cases will give you some sense of the scale.
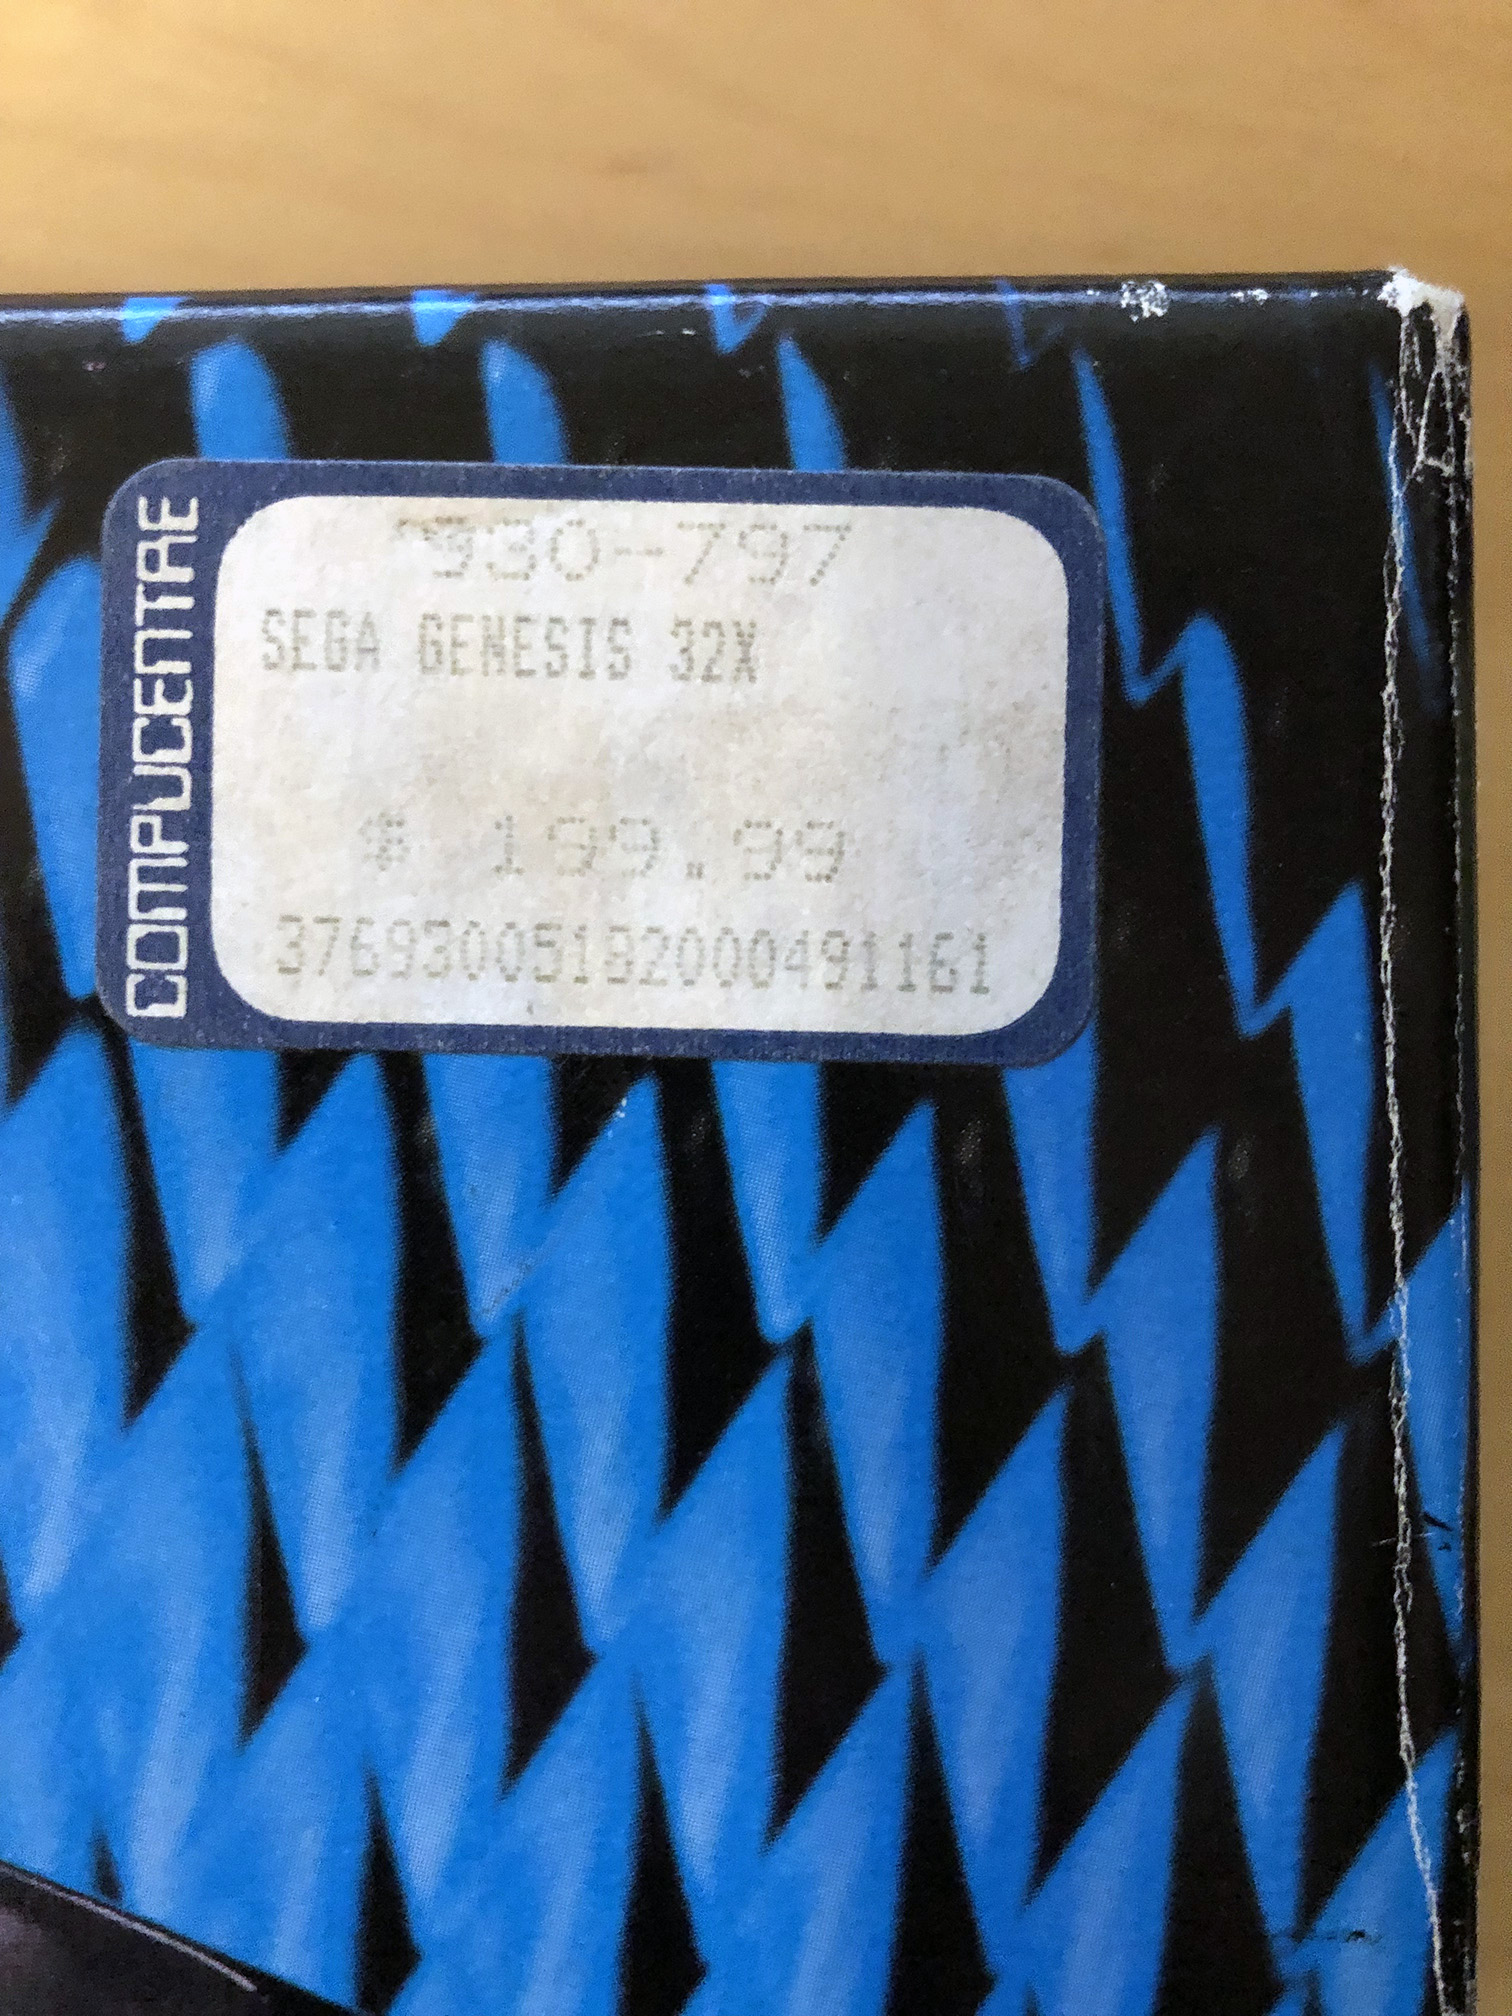
This was a local classifieds find (Kijiji) and cost me $150 CAD (~$114 USD). I feel I did better than the typical asking price of $200 CAD that I often see a Retro Game Swaps. I even did better than what appears to be the original retail price of $200 CAD as seen on the Compucentre price tag. Normally I remove all stickers but in this case I think I’ll keep it. There’s some history here.
I’d like to say this Sega 32X is complete but it’s not. However, it is so very close. The manual is in French and I’m sure it would have also come with an English manual; which is missing. It’s also missing the Audio/Video Cable. Aside from that everything is accounted for. Including an odd expansion port cover to be placed on the Sega Genesis console CD expansion port (if you don’t have a Sega CD connected to your Genesis).
I’ve read that this expansion port cover (called the 32X Extension Unit) was included for FCC compliance but isn’t actually needed.
I believe this is a very early version of the Sega 32X and possibly among the first. The silver metal brackets seen in the image above are called Electro Magnetic Shield Plates and it didn’t take Sega long to ditch them; similar to how Sega removed the 32X Extension Unit accessory.
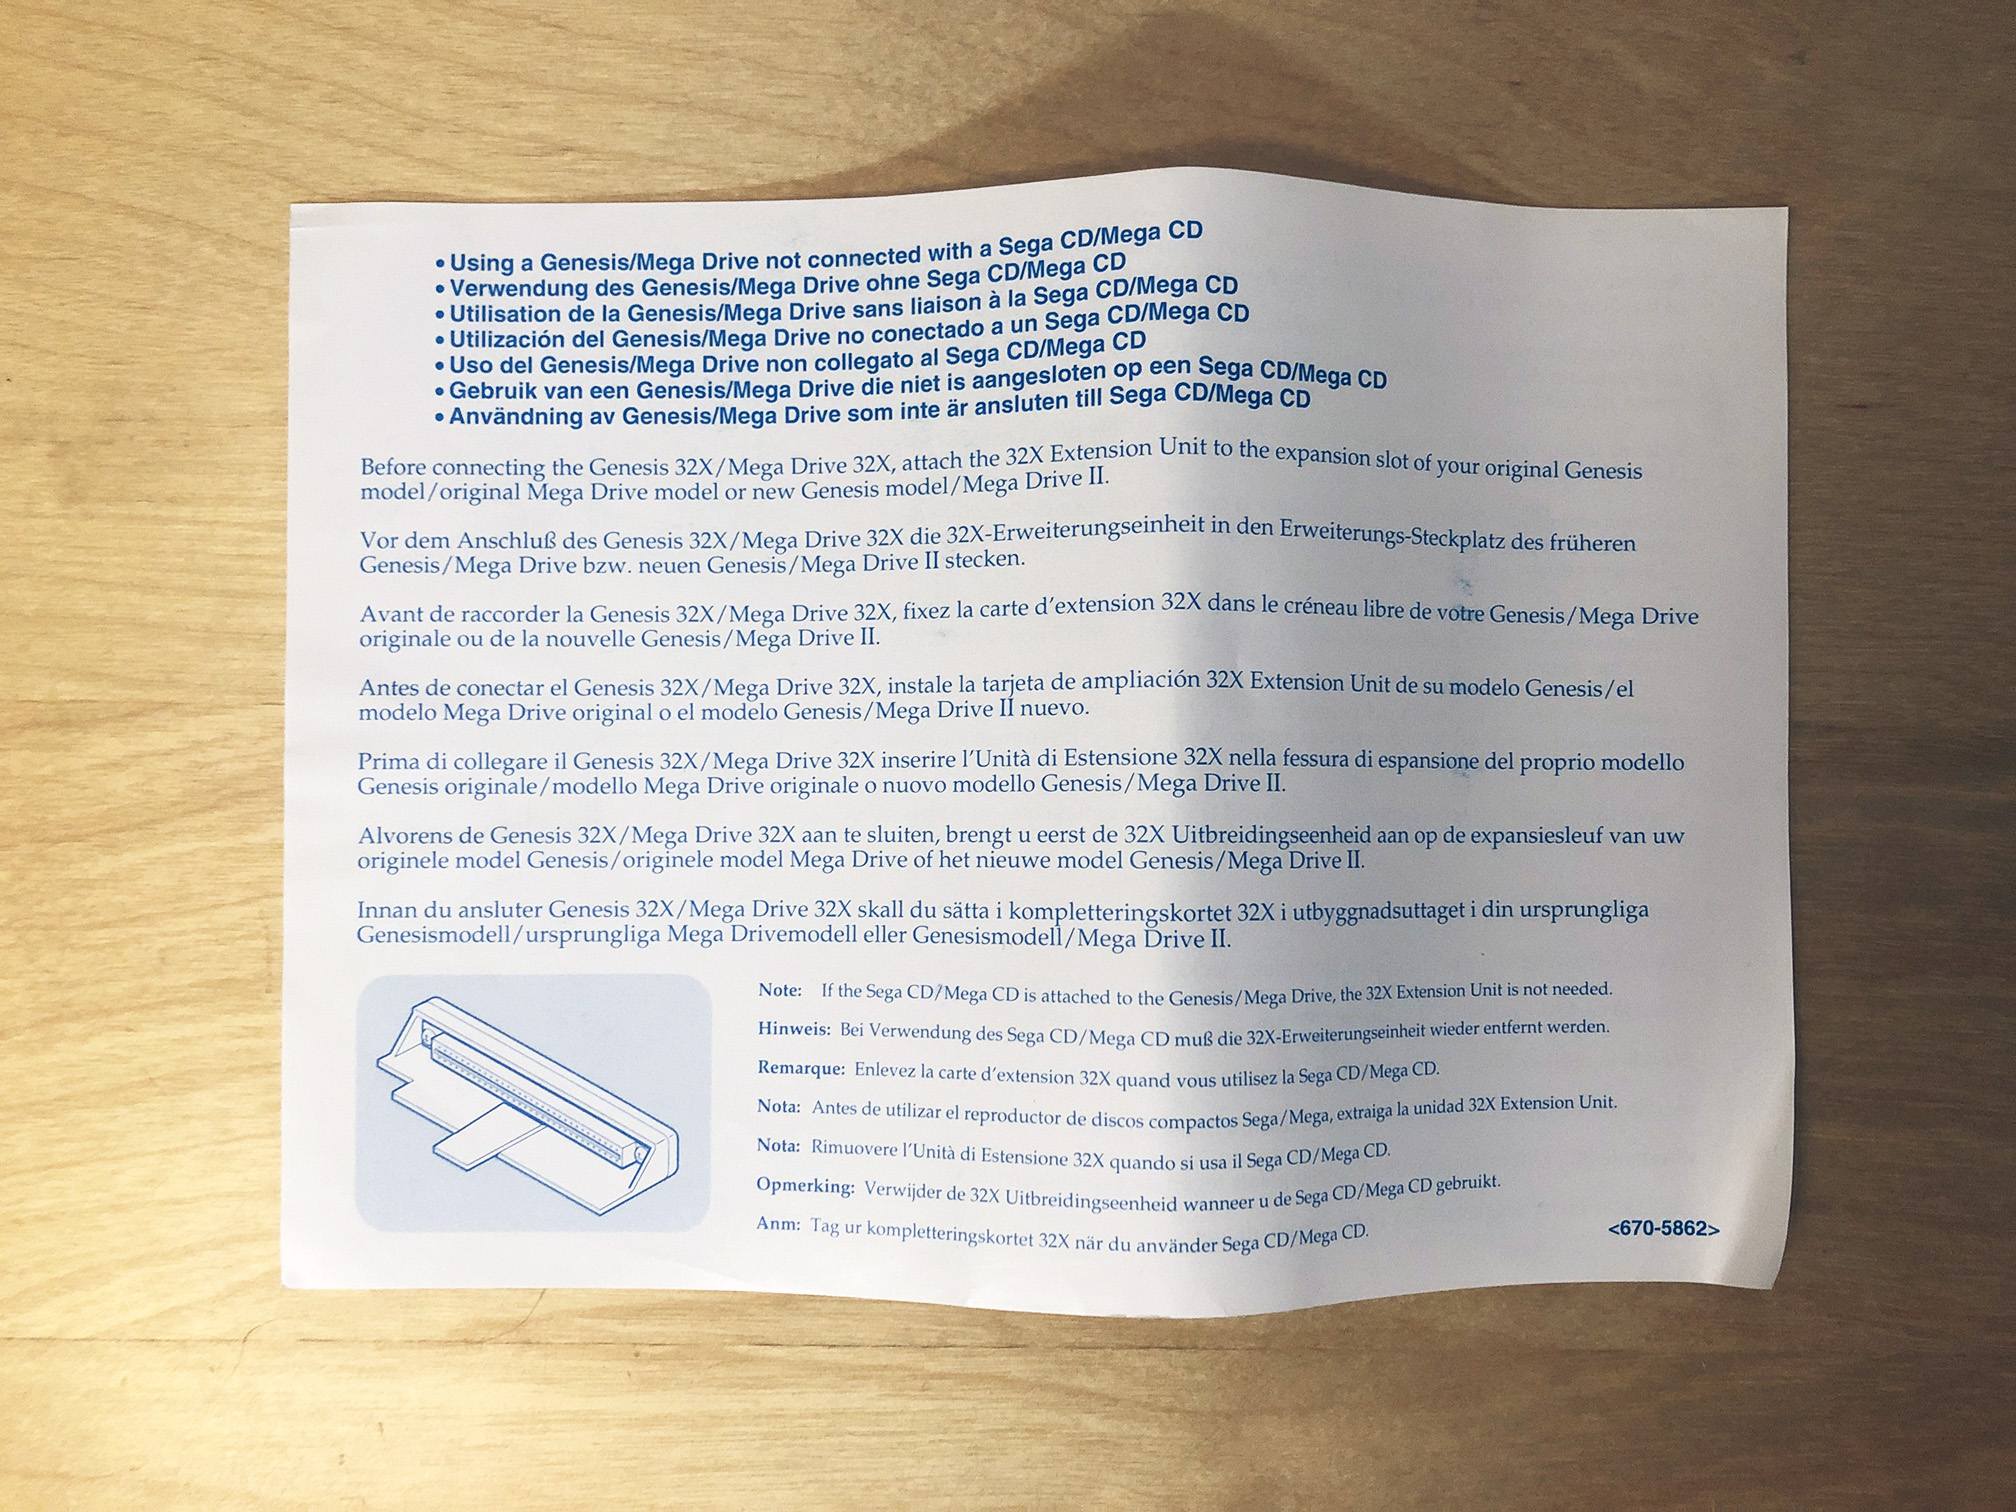
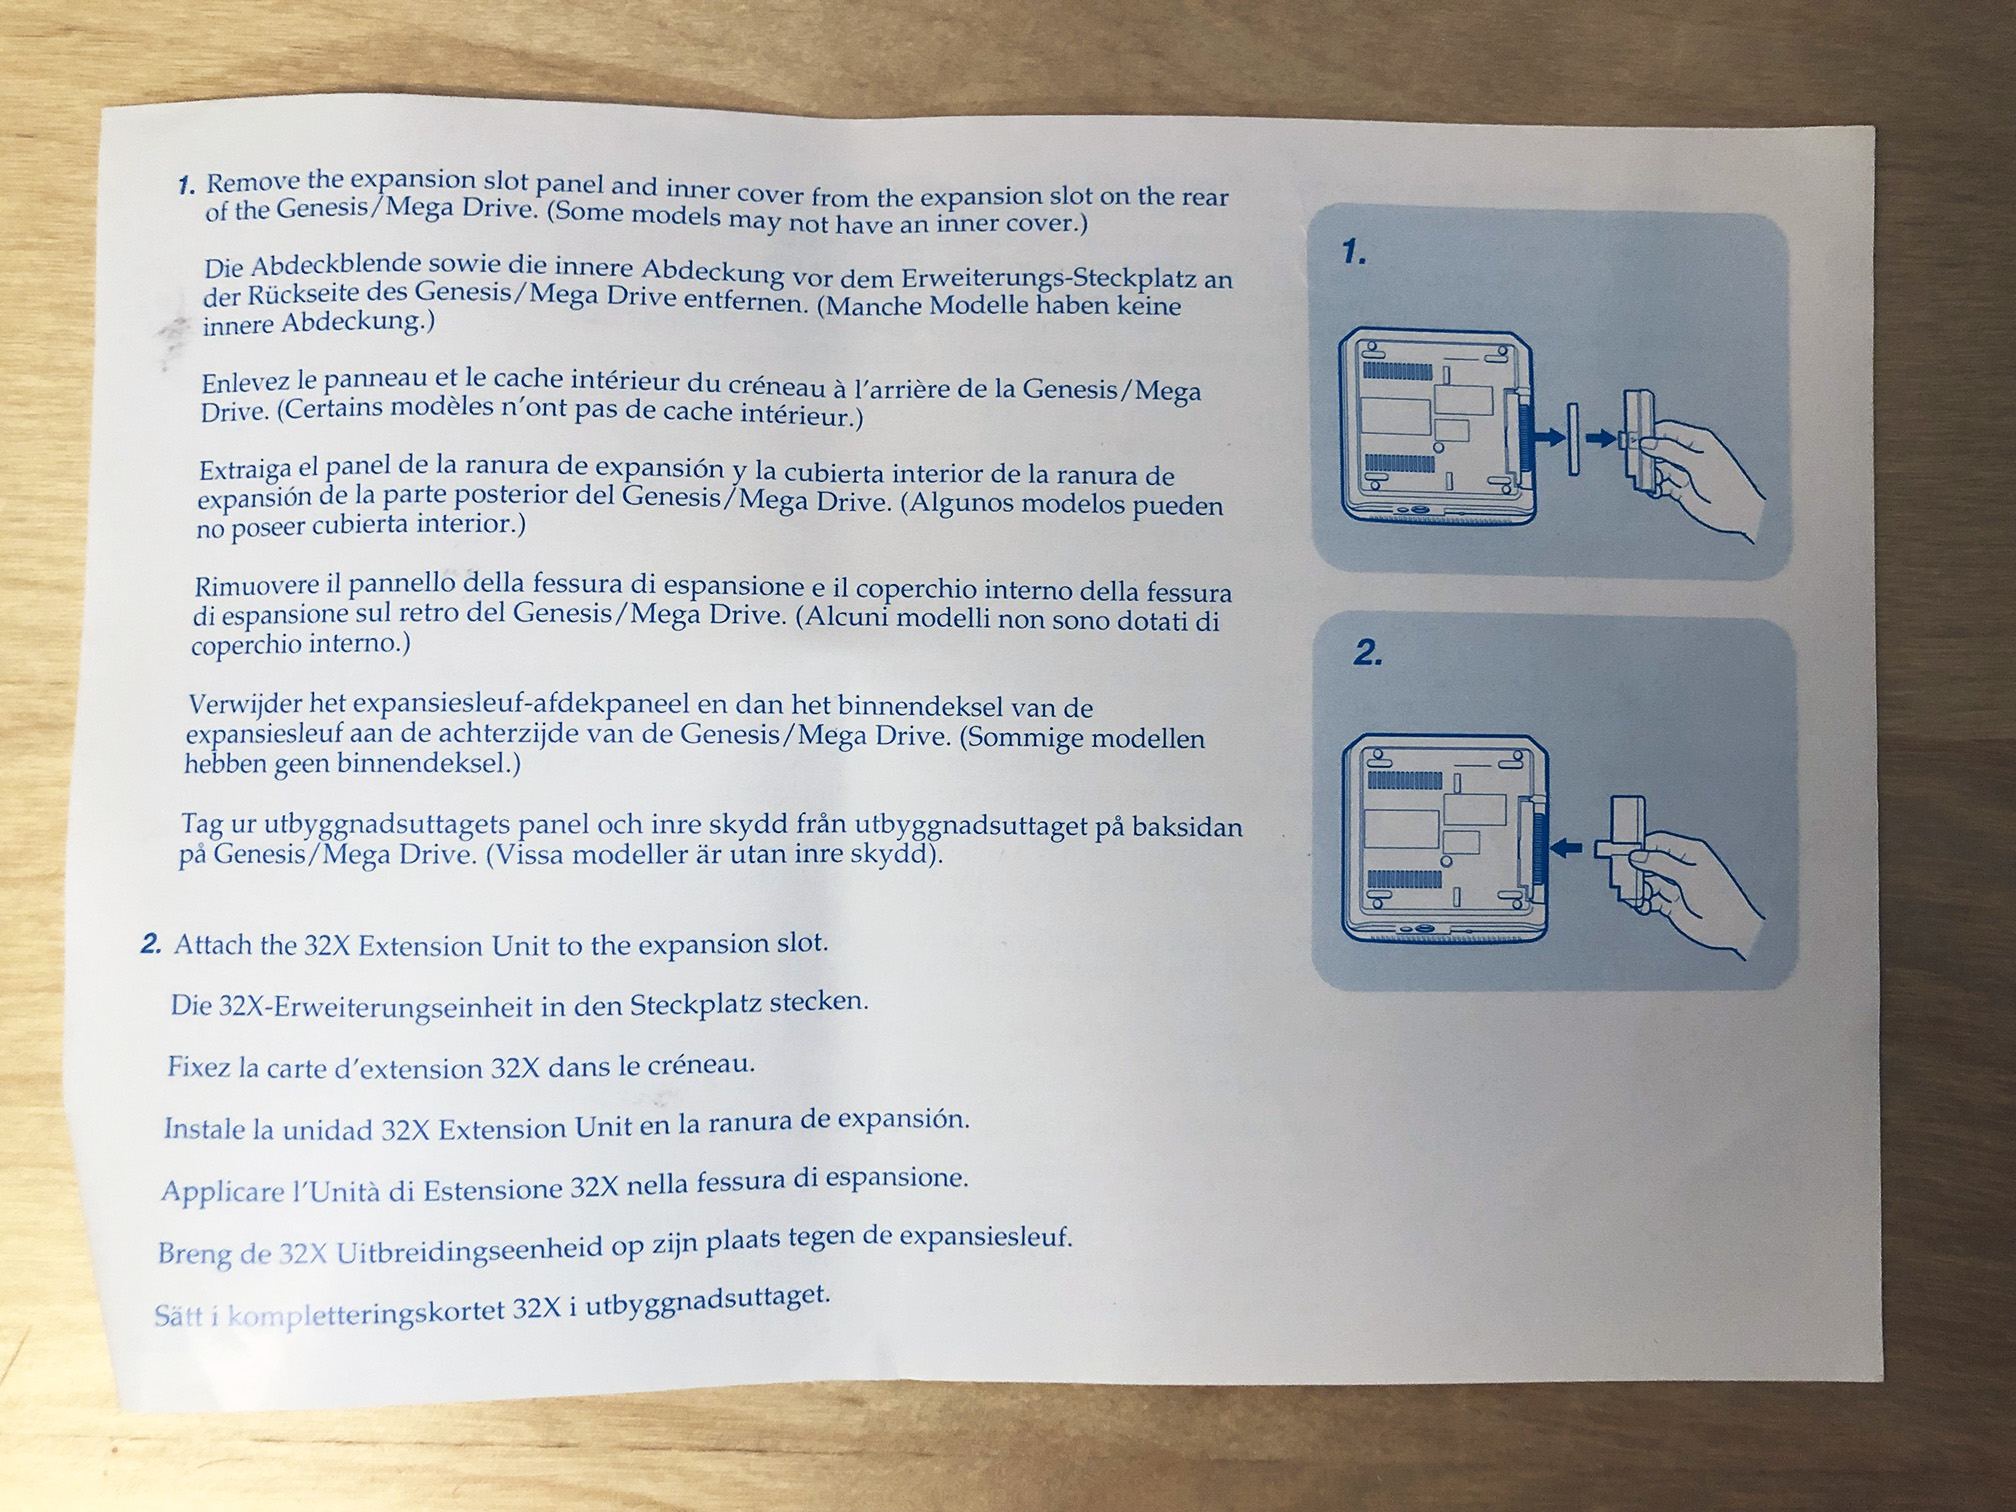
Below are detailed instructions of how to install your 32X Extension Unit onto your Sega Genesis console.
It’s an interesting bit of trivia that this piece of hardware wasn’t needed at all; ever.
I’ve had a loose 32X for a few years now but it was only this summer when I finally dug it out and took it for a test drive. Of my seven 32X games Space Harrier is the only one that I’ve been interested in playing.
Back in the day I was a huge fan of Space Harrier II for the Genesis and this is what I’d be comparing the 32X Space Harrier to. And despite being told “Get Ready!” I was not prepared for how fast and smooth the 32X Space Harrier was going to be. This is what Space Harrier was meant to be! (…and in the Arcades it was)
It plays incredibly fast and is a very intense experience compared to Space Harrier II. Yes, Space Harrier is still a simplistic game and a product of the Arcade era but it’s still a fun ride.
Anyone have any 32X game recommendations? Will the Sega 32X surprise me like the Sega CD and end up being an add-on worth having?
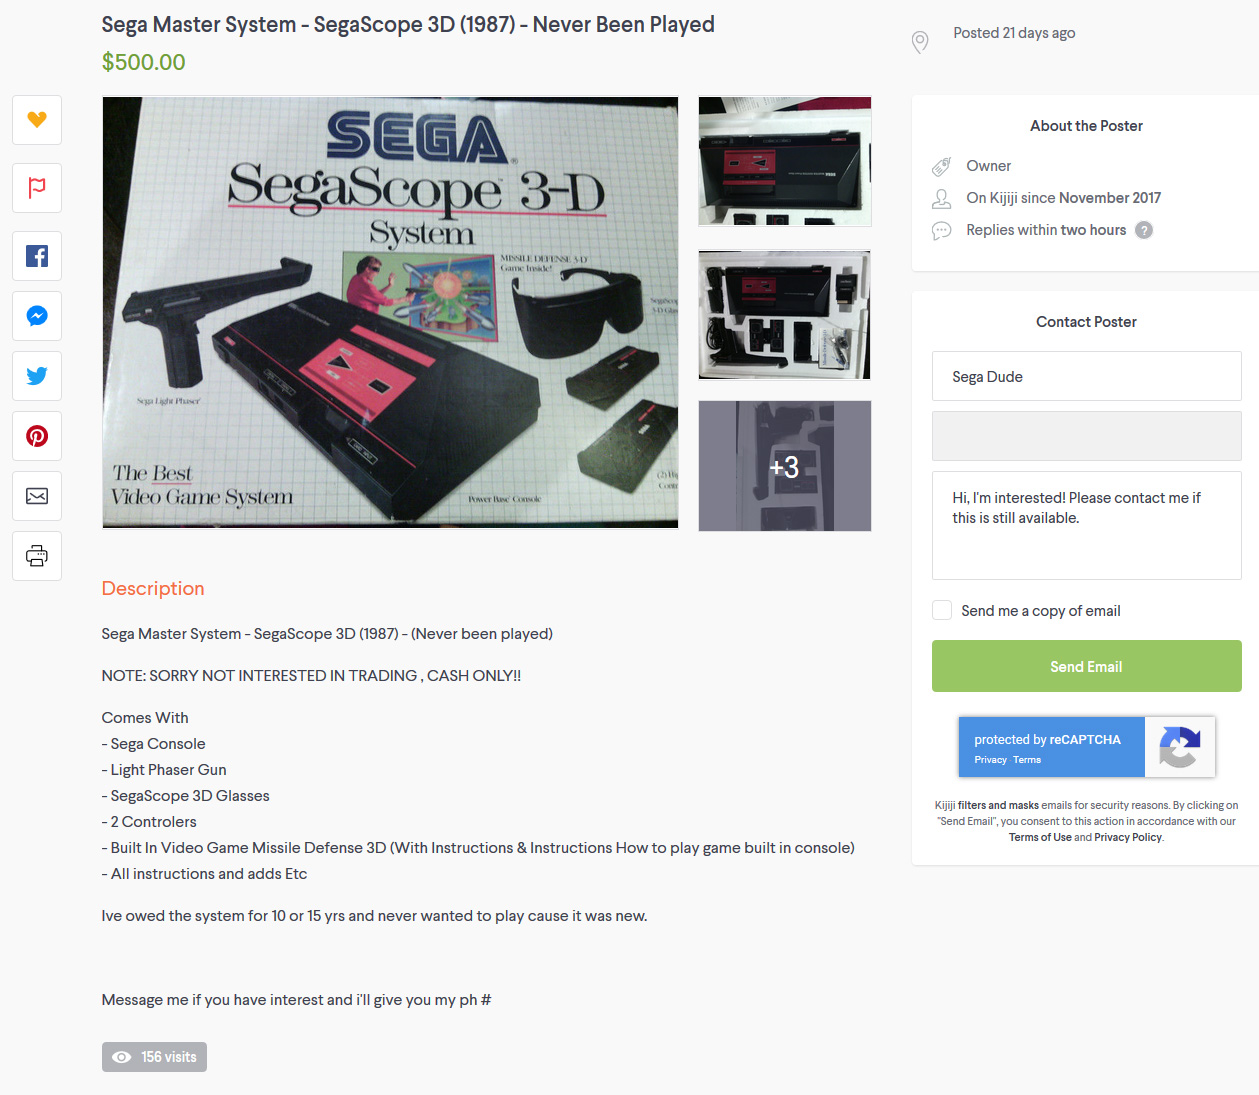
This is my new SegaScope 3-D System. It’s one of three different Sega Master System bundles that I remember seeing in Canada back when the system was new. It was the least common and carried the highest price tag because it includes Sega’s very cool (but under used) 3D Glasses.
There is another variant of this bundle showing a young Dude wearing a yellow sweat shirt and includes Missile Defense 3-D on cartridge compared to this variant with the Dude wearing a red shirt which has Missile Defense built into the console (BIOS v4.4).
The only time I’ve ever seen any SegaSCope 3-D bundle in person (since the 80’s) is on display at retro video game shops. And often on those few encounters the box was roughed up and/or empty.
So I was surprised when I found it locally but not surprised by the high asking price.
Sure, it’s super cool and hard to find but it’s not worth $500 CAD (~$380 USD). It was also a 1.5 hours drive away so I wasn’t incredibly motivated. I sent an offer of $300 CAD but the seller didn’t want to let it go. And that was the end of it for a while.
I actually wanted to offer $200 but if the seller was willing I’m sure it would have sold very quickly at that price. I felt an additional $100 was needed in order to stand any kind of a chance.
After several weeks I made my offer again and the seller wanted to meet me at $400. But for me personally even $300 (~$227 USD) felt like a lot of money so I stuck to my price and eventually he agreed.
The next challenge was dealing with three hours of driving to get it. But when I took a closer look at the sellers location I realized that a very close friend lives in the area. I called him and he was willing to drop everything and head over to meet up and make the exchange. He even spotted me the $300. That’s a sign of an exceptionally good friend. Next time we got together I received my pricey but very cool SegaScope 3-D System bundle.
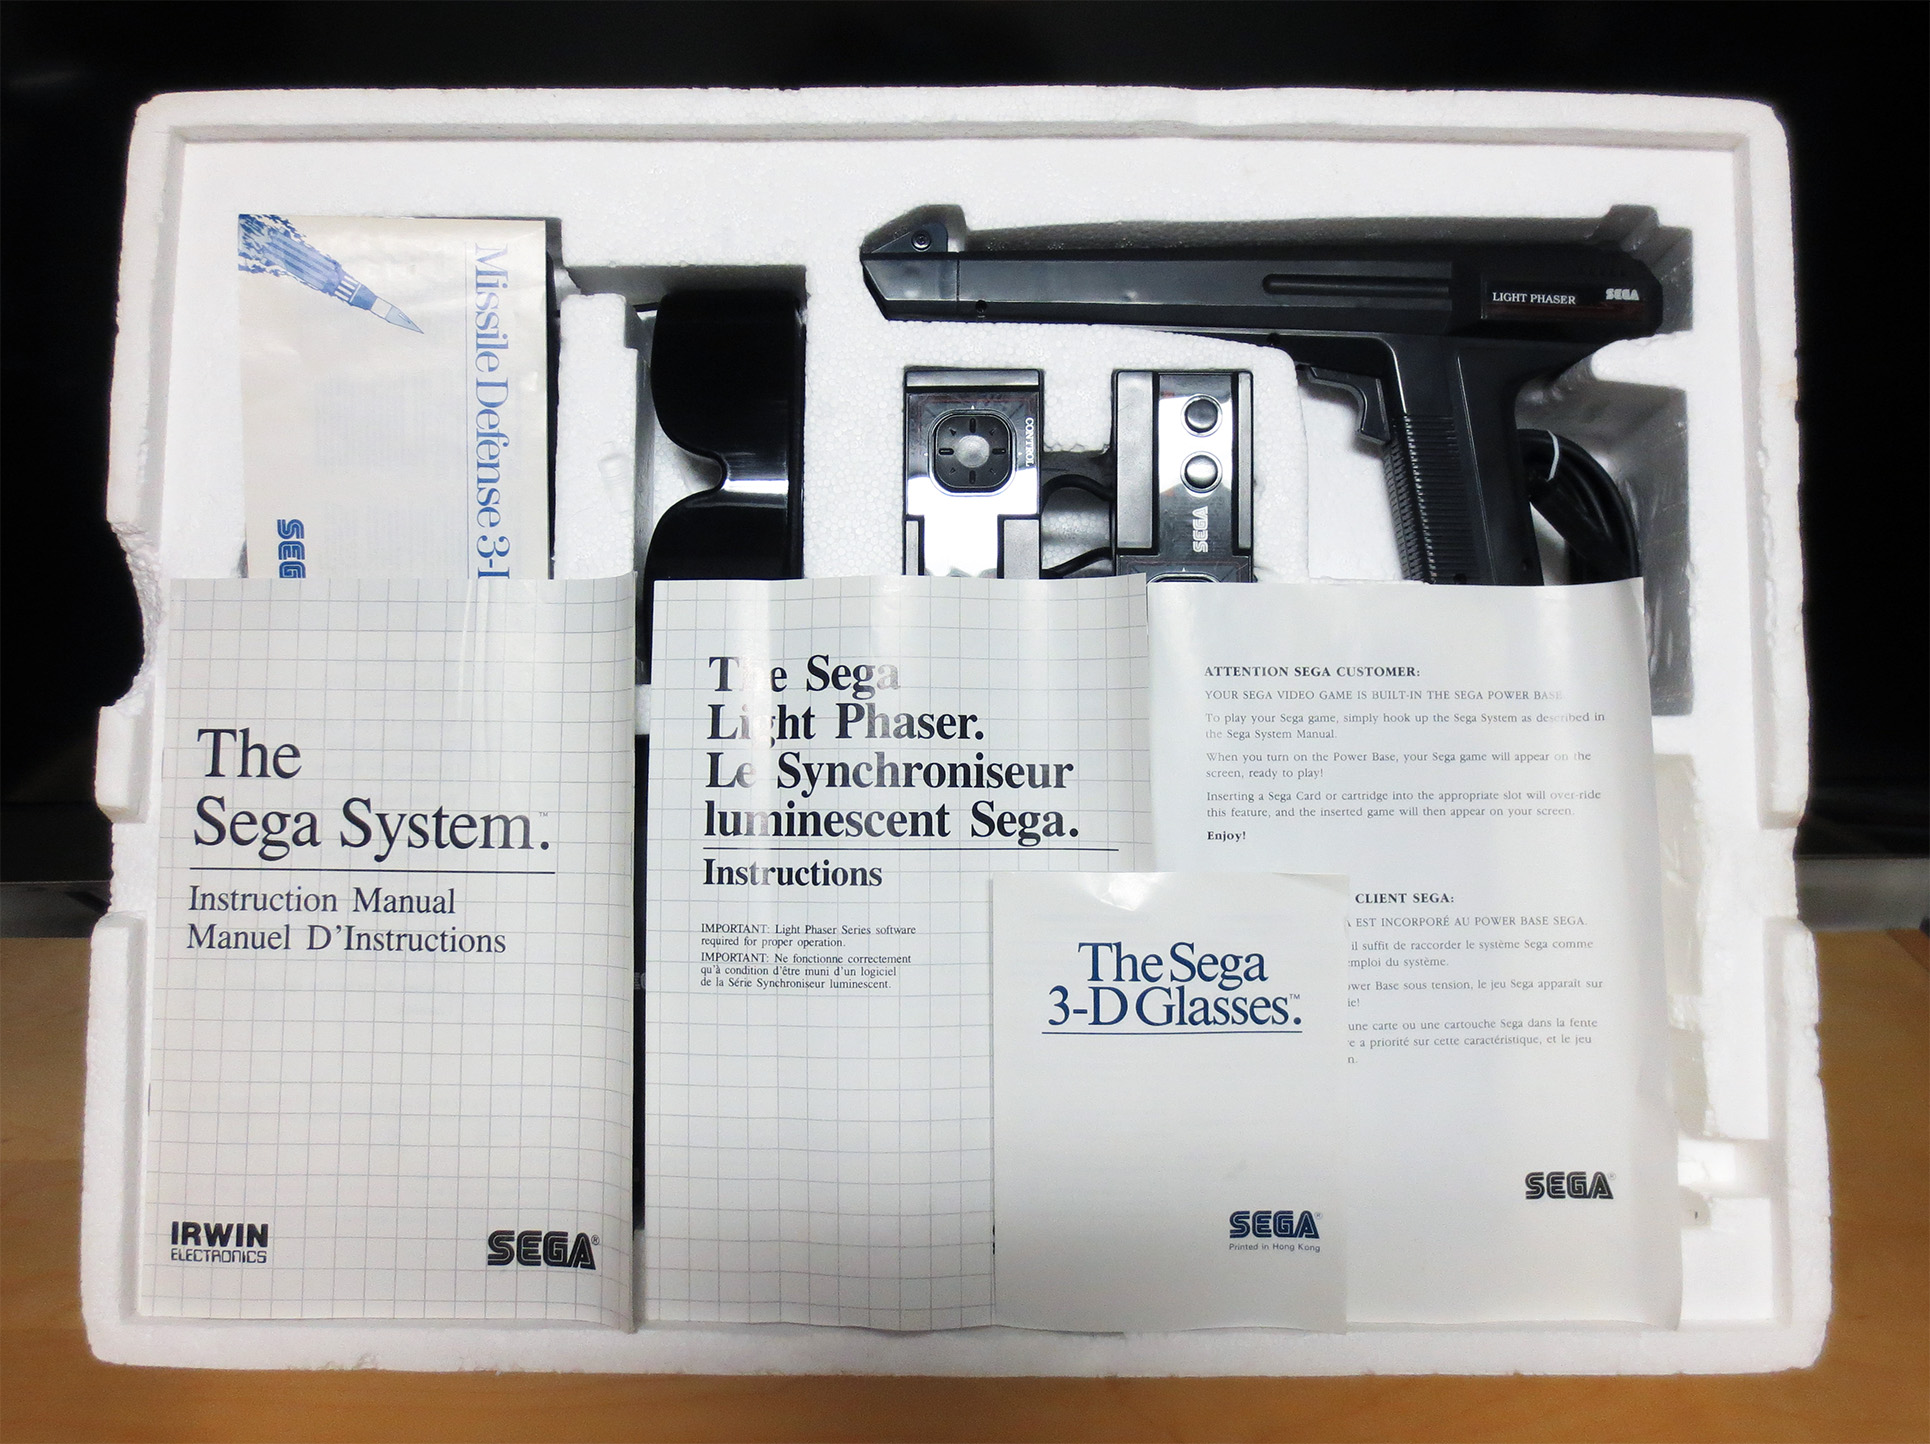
It’s almost complete. With the exception of the power supply everything appears to be included. Not visible and sitting behind the 3-D Glasses adapter are the coaxial and VHF adapters. All of the hardware is in excellent shape and is in perfect working order.
I don’t know for certain what originally came with the system but there is a manual for each component and for the built in Missile Defense 3-D game. The Styrofoam is not in perfect shape but it’s whole enough and I believe a Styrofoam cover is missing.
The back and the sides of the box have the worst of the damage. There is a cluster of puncher marks on the back near the top and the flaps on the sides are well used and torn in places.
However, it displays very well and it’s really the best condition SegaScope 3-D System that I’ve ever seen in person so I’m pleased that it’s mine.
I will admit that I still feel a little conflicted on how much I spent on this sucker. The other two boxed Sega Master Systems cost me ~$40 CAD (I think; it was decades ago) and $100 CAD for the Hang-On/Safari Hunt version.
While browsing my local classifieds (Kijiji) I found someone selling a nice looking boxed Sega Master System. It was listed as complete and from the images included it really did look reasonable. After exchanging a few emails we worked out a deal and for $105 CAD I got a boxed Sega Master System and two complete sports games for the Sega CD. For simplicity, lets say this boxed Master System cost me $100 even. I’m typically not too interested in chasing variants but for the Sega Master System Model 1 I’m only aware of three significantly different versions that were released in Canada. So for a fair price it was fun getting one step closer to having all three.
I didn’t have a chance to take a close look at the packing or the console itself until I got home. When I did, I discovered several things that really hurt the over all appearance. The outer paper layer of the box was pealing off the cardboard in several places and the bottom of the box had two large rips where at some point the box could no longer support the weight of it’s contents. There was also a small price tag right smack in the front and center of the box. At $9.99 someone (once upon a time) got a much better deal than I did!
And although technically complete with the power base unit itself, joystick, 3rd party audio/video cable and 3rd party power cable it still felt less than whole.
The good news about the paper pealing away from the cardboard was that is was still pretty well intact. There were no folds, wrinkles or rips. So I grabbed a glue stick and went to work. I even had an idea for the tears on the bottom of the box. I knew they couldn’t be glued and stand a chance of holding as they were so I cut out some cardboard and glued the new piece to the area surrounding the tears. All things considered I think it turned out very well.
Despite seeming thin for cardboard the piece I used to mend the tears at the bottom of the box was too thick. In hind-sight I should have used something similar to the thickness of the sheet of cardboard that slips into a comic book bag. I ended up tearing the top layer off the added piece of cardboard and then flattening the exposed cardboard ridges to make it thinner. It’s not pretty but it’s entirely out of sight and holding the bottom together well.
The condition of this box before any of the work I did was still pretty good considering the age. But this felt like a big win. After about 30-45 minutes of work I feel like it’s now looking really good. Surprisingly removing the price tag from the front of the box was really hard. I used a hair dryer on the sticker until the surface was good and hot but it still did not want to let go. I spent a long while pulling up the edges about one milometer at a time until it was fully removed.
Alright! Time to play some Sega Master System with my new Sega Master System Power Base! It is after all ‘The Best Video Game System”. Says so right there on the box.
I powered it up without any game inserted to see if it had the Snail Maze game built in or Hang-on and Safari Hunt. Turns out this unit is a bit older and has the Snail Maze game built in. Back in the day when the Master System was new the Snail Maze game was an Easter egg and was not advertised. This was pre-Internet and there weren’t a lot of ways to find out about stuff like this. When a friend told me to power on my Master System and hold ‘Up+Button 1+Button 2’ during the SEGA logo splash screen at boot up to find a hidden game I did not believe it. Yet there it was. It was a real ‘Wow!’ moment. Sega was really smart to keep it secret. It’s a really simplistic game and doesn’t merit a purchase on it’s own but the surprise of it made it feel like a really significant bonus. I did not stop playing the Snail Maze game until I had beaten it. It is a fun game and you will need a lot of attempts before you’ll be able to clear all 12 stages. It felt awesome when I finally beat it. It was fun and free and it was another big win for the little Sega Dude!
Flash forward to 2017 and the Sega Dude is attacking the Snail Maze again! That’s right, it’s still fun and challenging. It had been a very long time since my last play through and I was navigating more on instinct than memory. The tiny Snail sprite was the embodiment of pure fury under my control! Then at the final moment of round 11 with only one more maze to go… my new Sega Master System Power Base died… With a pop and a crackle my TV went dark and fury fell to anguish.
I tried powering it back on a few times and nothing happened. In my inexperience with electronics I headed over to SMSpower.org for some help.
The first thing that was suggested to me was to replace the capacitors. If you’re into the Retro Video Game scene you’ve likely heard of the term ‘cap kit’. Which refers to buying the required set of capacitors to replace the old ones from a particular Printed Circuit Board (in this case the PCB for a Sega Master System).
So I purchased a Sega Master System cap kit from Console5 for $2.95 USD. After replacing all 16 capacitors my Master System would still not turn on. With more help form the SMSPower forums I then replaced the voltage regulator (also purchased from Console5).
In the first picture below I’ve circled all 16 capacitors in red and on the far left circled in purple is the voltage regulator. The first picture is actually the finished project with all the new components that I installed. I still feel new to soldiering so I was more focused on the work than documenting it.
The second image above is a typically capacitor. The long leg being positive and the short leg being negative. When placing a capacitor into a PCB it’s very important to get the polarity right. The holes on the PCB where the capacitor is to be place will indicate which is which with a + and – symbol. I’ve circled these details in the third image. The only other consideration is to be sure that the capacitor you’re installing is appropriate for replacing the old one. The benefit of purchasing a cap kit is that someone else has done this part for you. The remaining images above show caps being installed and then soldered into place. Once the soldering is done I cut off the excess legs and I was done. In order to get access to one particular capacitor I had to remove (de-solder) the power switch and then re-install it once the new cap was in place. If you look close at the blue plastic on the power switch you can see where I accidentally melted part of it. Fortunately it’s just cosmetic damage and the switch is fine.
In the end it turned out that it was the voltage regulator that had died. Once it was replaced my SMS would turn on again. I didn’t have to replace all of the capacitors but I am glad I did. When comparing this SMS with my other one I can see a distinct difference between the two. My newly repaired SMS shows a brighter and sharper image compared to the other SMS with it’s old capacitors.
By chance I was recording my gameplay when my SMS died. Not only was I able to capture the distorted video quality but also the actual moment when my poor console died.
**Viewer discretion advised. The following might not be suitable for all audiences.**
What the video doesn’t show very well is how much better the the visual quality is after the repair. Somewhere during recording via composite and re-encoding and playback on non-CRT displays the fine details are lost. But the distortions were captured well in the first recording.
With this Master System working again I went through my box of miscellaneous things and I found a few items to make it more complete. Now it has the Power Base, Hang On & Safari Hunt, RF AV Cable (hidden under the game), two control pads and a Light Phaser. I just need an original power cable***, a manual for Hang On & Safari Hunt* and a manual for the Master System** itself. Eventually those things will come along and I’ll pick them up when I can.
*Update: I was able get a free Sega Master System manual from my buddy Flavio. All of Flavio, Nintendo Joe and myself were playing some outstanding Genesis games like Vapor Trail, Golden Axe II, Forgotten Worlds and Eliminate Down while munching on pizza when I noticed a SMS manual sitting right next to us. We checked Flavio’s two boxed Master System’s and they were already complete with manual so this spare became mine. Thanks Flavio!
**Update 2017-11-6: I now have a manual for Hang On & Safari Hunt.
***Update 2018-01-29: I managed to find an original SMS Power Cable from my local classifieds (Kijiji).
The other boxed Sega Master System below I purchased in the early 2000’s at a hockshop. I’ve forgotten what it cost me. It is complete and also in very good shape. It even has the two thumb sticks that screw into the center of the joystick D-Pad. The idea was to make the joystick feel more arcade like. They don’t work well at all and aren’t worth using but I love that I have them for this set.
I’m already planning on replacing the capacitors on my other Master System Power Base just because of the difference in visual quality that I can see first hand between the two of them.
After this experience I’m no longer worried about these old consoles dying. With a bit of work and low cost we can bring them back to life and make them function like new again.
I didn’t really need joysticks but I couldn’t resist picking these up anyways.
The two boxes at the bottom of the picture are new in the box. I couldn’t believe how great their condition is. Together they cost $20 plus shipping.
The multi-tap is also like new and I got it because I had a plan to use it to extend my wireless RF receiver such that I could place the receiver on my TV for better reception for my wireless joystick. Later I realized I just need two joystick extension cords.
The black boxed joystick I received when I bought a boxed Genesis ($45) off craigslist. It’s not like new and the joystick inside is broken.